Thursday, May 31, 2012
Tuesday, May 29, 2012
Completed belt
The belt looks absolutely stunning! We completed the back part of it and are working on attachments now.
Friday, May 25, 2012
N7 Logo!
We added the N7 logo on the chest plate! We created a depression in the chest plate for the N7 pieces to set. They are made out of mirror plated stainless steel. It took several attempts and a couple broken bandsaw blades.
Thursday, May 24, 2012
N7 build update: Belt
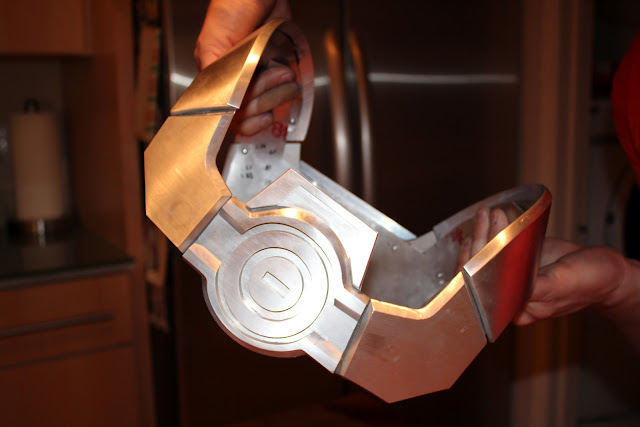
The sides curves of the belt are made out of 1/2" solid aluminum pipe. They pipe curved a little too much on the inside so he had to bend the corners out with a vice (very difficult!). The detail work on the belt buckle included cutting and sanding the aluminum at an angle in order to get that exact beveled edge. The curves were then beveled and sanded again, both with a power sander and by hand. The side curve pieces were screwed onto the thin sheet base frame of the belt with small screws and reinforced with our favorite super glue "Zap-a-Gap"! I found the clothes that I will be wearing under the armor at Sports Authority, an Under Armor shirt (very appropriate) and legging pants that can also be used for Yoga! It is not done yet but the belt looks amazing!
N7 update: 24 May
Update on a few armor plates. Thigh plate, forearms and collar connections. We are now working on creating attachments.
Monday, May 14, 2012
N7 Backplate: Update 14 May
Ink and Template: update 5/14
 |
| Testing out inks to color the aluminum. We want it to be darker but did not want to lose the shine. |
 |
| Colored the Shoulder plate, lining up the stripe to paint |
 |
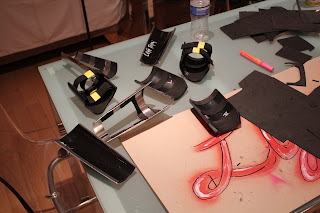
| file folder Template for the belt and thighs |
 |
| Aluminum tube to make the sides of the belt |
 |
| Base layer for the Belt |
 |
| Attached the nylon straps to connect the collar/chestplate |
Tuesday, May 8, 2012
N7 Backplate: Part 2
 |
| Screen cap from Mass Effect 3 |
 |
| Testing out plastics and gels to tint the lights red |
 |
| Attaching the light packs to the back plate |
 |
| Began process of lining up and merging collar and back plate |
 |
| He created an area for red lights to come through on the top and bottom of the box |
 |
| Found a good LED light for the center circle of the box |
 |
| Rebuil the box with Aluminum |
finished with automotive paint
Subscribe to:
Posts (Atom)


