Showing posts with label 2012 Comic Con. Show all posts

Monday, July 16, 2012

Commander Shepard at Comic Con!

Photo courtesy of Howie Muzika


Commander Shepard at the San Diego International Comic Con


2012 San Diego Comic Con Masquerade!
We just finished our stay in San Diego for the 2012 Comic Con. It was such an incredible experience! It was our first time attending the convention and we had a blast. It was also our first time building a costume and participating in a masquerade (we kind of jumped all in). The masquerade was a fantastic experience for all of us. We had the opportunity to meet and learn from some of the most accomplished costumers and prop builders in the world. I can honestly say that being on stage in front of 7000 was one of the most exciting and terrifying things I have ever done. We feel very fortunate to have received two awards/recognition, one from the industry Judges and one from the Comic Con judges. Our skit was a lot of fun. If you saw us at Comic Con and have any photos please send us an email (unfortunately we have very few photos of our own). Here are a couple pictures from SDCC and the masquerade competition.
On stage at the 2012 San Diego Comic Con Masquerade
Our skit at the 2012 San Diego Comic Con Masquerade
Here is a link to our video: We want to Thank AC Paradise for posting this video. The masquerade staff didn't start our audio right away, it was pretty funny, but well played by the guys.


Monday, June 11, 2012

Update June 11

We are really moving along, it seems like we are completing pieces everyday. We have about 2 weeks until our unofficial deadline to complete the project (the official deadline is July 10).

Coloring the aluminum
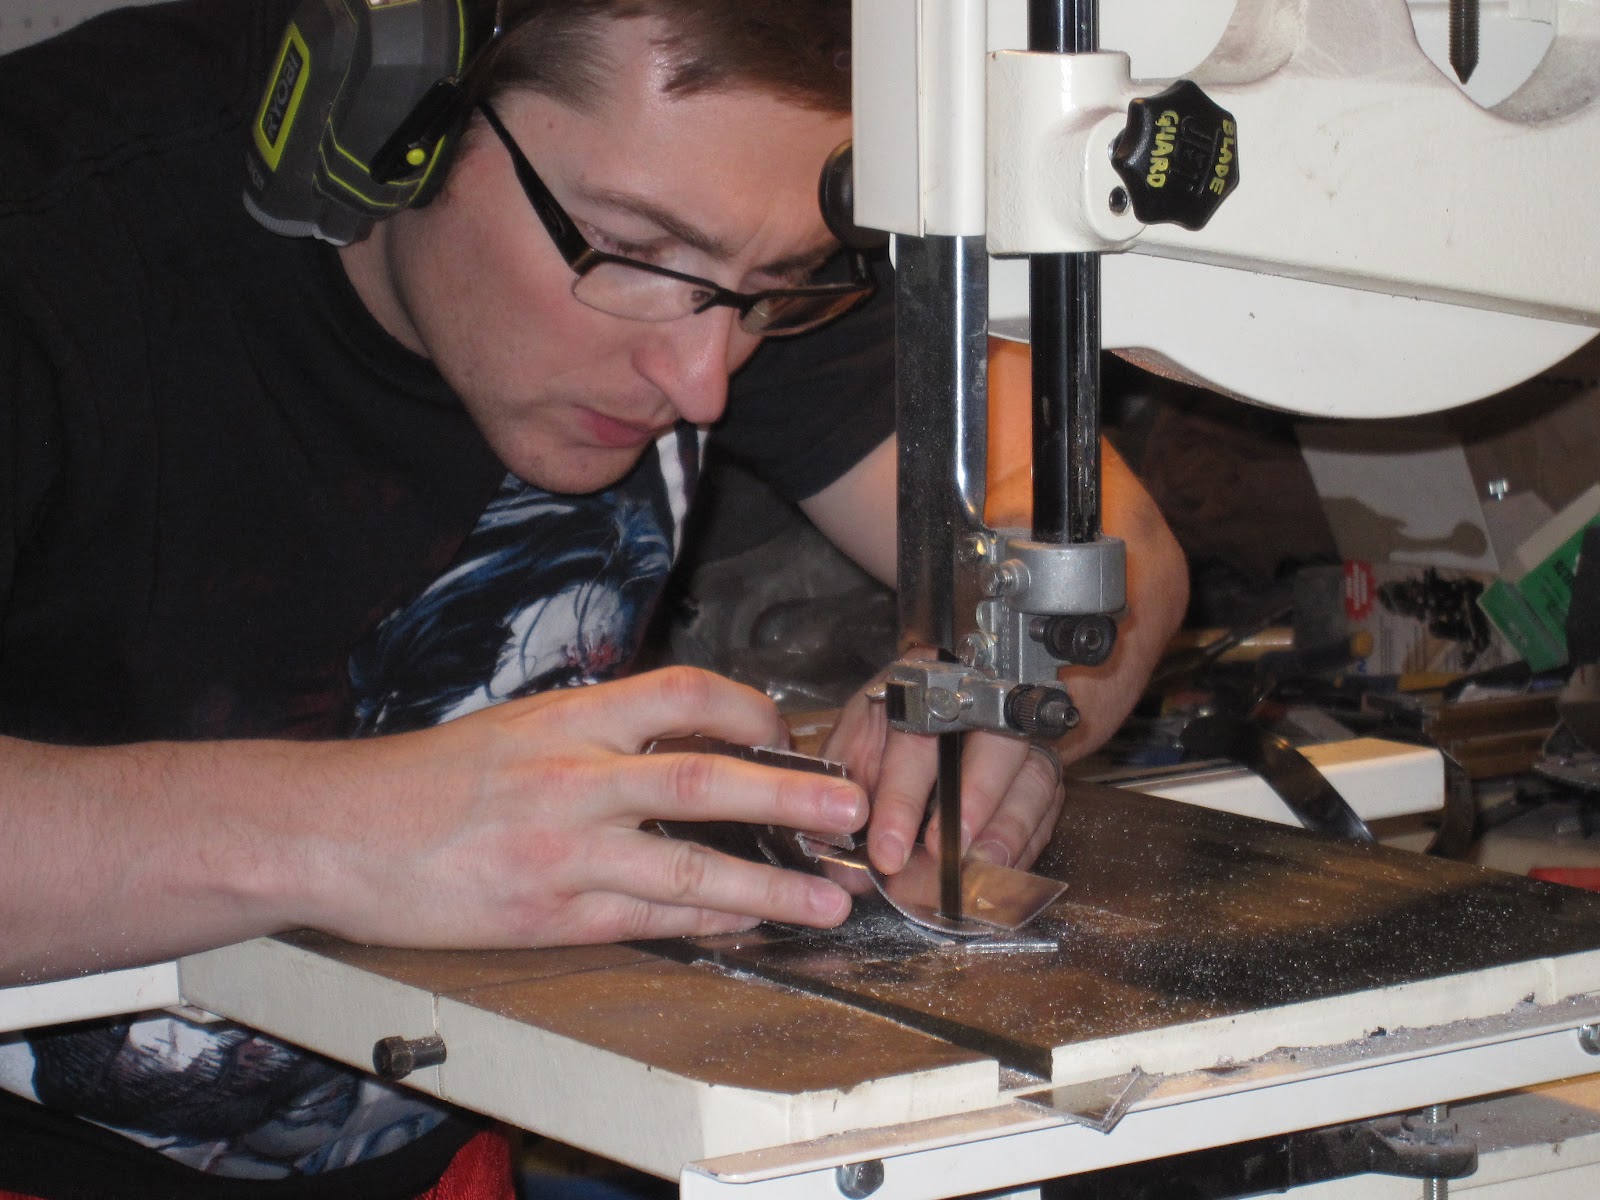
A number of people have asked whether we were going to keep the aluminum in its natural color - which is super shiny - or paint it. We always wanted to color/darken the aluminum, it just took a long time to figure out how to do it. Painting works, and it was out backup plan, but we wanted it to retain the metal look. We decided to use ink to color the metal, we then sprayed it with a clear coat finish (shellac). Each of the four coats was separated by 24 hours to allow it to set (anything less resulted in a lot of scratches).
Word of advice: This is not a preferred method, it is difficult and unreliable. We would recommend obtaining aluminum in the color you want before you start. Aluminum can be colored, but it usually requires anodizing or a chemical bath.


We painted the back plate and cut it to shape. It now lines up nicely on the sides with the chest plate. We still need to create the buckle connections for the back plate. We are going to make a new aluminum piece to cover the long red lights.


The gloves are ready to be glued.


The previous post contained picture of me wearing the forearm pieces however, the aluminum had not been painted at that point. Here is the completed piece (below).


Monday, May 7, 2012

N7 Chest Plate: Part 3


After MANY attempts we settled on paint for the piece. It is a custom blend of 2 automotive paints: "Xotic" Platinum Pearl and Black Pearl. This mix is sprayed on over black paint.
The boobs each got a 4 piece aluminum treatment. The in-game model shows these parts as having a single reveal line across the...you know...middle...ish... area. AHEM. Well surfacing these round bits with only 2 pieces of aluminum wasnt feasible because aluminum only likes to bend on 1 axis at a time (If we owned a french wheel we could have tried to dish the material). Consequently I split the pieces into 4. A little artistic license. The N7 logo is coming soon as a birthday gift to Electric.

At this point we had used a black metallic paint that I HATED. Electric was satisfied but I thought it looked like fleckstone. It took me a lot of tests and trials to find something I was satisfied with.

You can see a little packing tape on those forearm pieces. That is protect from scratching.
-All the metal in these photos will get tinted a darker color later on.

N7 Chest Plate: Part 1


The chest plate, or "Space boobs" as they are sometimes referred, were extremely difficult. It started as a plastic fencing chest protector and we then added thin black foam over the entire piece. It was not wide enough so we added chipboard to create the correct shape. Brackets were also added at the top so we could create the little neck guard in the front (we called it the sneeze guard). 5 minute Epoxy was used to smooth it out and fill in the low spots, it was then sanded smooth. Ridges along the bottom were cut in and we applied the first base layer of paint.
- Electric


I kind of goofed with this piece and learned a lot of lessons. I kept trying to do things with quick fixes or simple methods instead of biting the bullet and doing it all the way. Consequently the space boobs went thru dozens of attempts at surfacing and painting. It was kind of a nightmare. In the end I decided to just sand the living B out of it and epoxy coat it.
Materials in the space boobs:
Plastic chest protector, acetate sheet, steel brackets, aluminum sheet, chipboard, duct tape, "funky foam", EVA foam, wood worker's glue, Gel medium base, 5 minute liquid epoxy, PC plumbers epoxy putty, Bondo spotting putty, Zap agap cyanoacrylate glue (super glue),a bout 8 different colors of regular spray paints (Molotow, Mtn 91) and 4 kinds of automotive paint. Did I miss anything? Oh yeah... Duct tape!!!
-Zoot


Filled in the low spots with 5 min Epoxy then sanded it flat.
First coat of paint, just a baselayer
Added in the ridge lines at the bottom

N7 Upper arm (bicep) plates

The upper arm plates were made out of ABS pipe that was cut on the band saw. They were then sanded with a belt sander. The pieces were then covered with sheet aluminum. We bent the aluminum using clamps then polished the rough edges on the belt sander. The next step was to glue the aluminum to the ABS, this involved a lot of clamps and about 24 hours to set. The tops looked a little rough so we used what we call "Red Sand" to smooth things out, its like a bondo putty that can be sanded (Bondo spotting putty- Z)-The idea came from the legendary prop and replica artist and designer Harrison Krix of Voplin Props http://volpinprops.blogspot.com/   - Electric


Tool wise we are using a Jet 14" bandsaw (the hero of this project), a 4X36" Rikon table top belt sander, and a Rikon 1" band sander. The bandsaw cuts all our sheet stock and pipe to rough shape. The 4" sander does the bulk of our reshaping and finish sanding, and the 1" does all our tough to reach corners like the slots in the bicep plates. _My weightlifter friend tells me its a TRICEP plate...whatever man. Anyway, I convinced Electric early on that the look and feel of real metal just couldnt be beat. So most of these pieces are getting full metal wraps.  We buy aluminum sheet from the local metal distributor at about $3.50/lb. We are using .032" sheet which is difficult to bend to shape but it takes smooth curves and doesnt dent easily. Later on I moved into using 1/4" thick aluminum plate and pipe. -Zoot


It is very difficult to glue and bend aluminum
Close to the final version of the plate, not including the paint. That bevel on the edges was hard to make!